
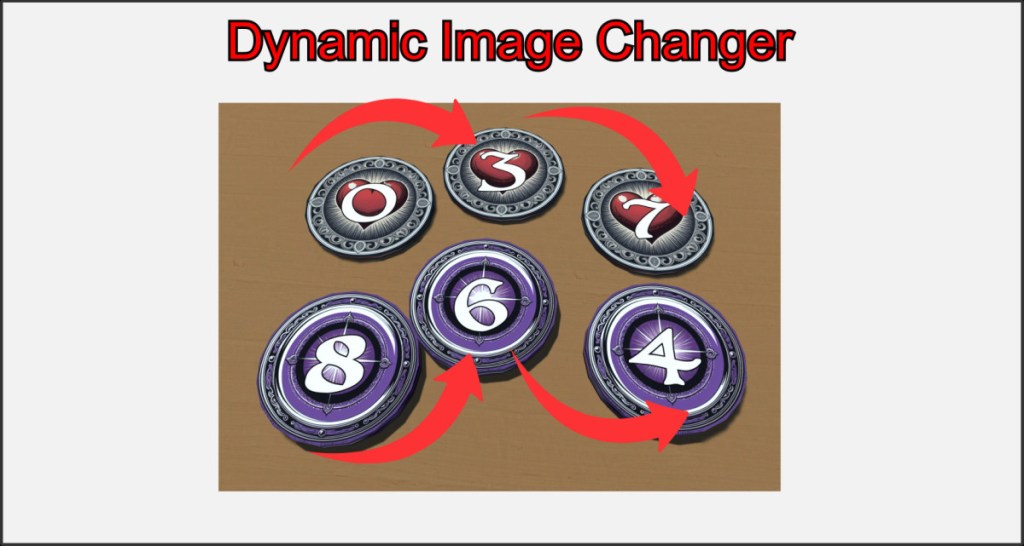
Objects can be given different textures (multi-textures) during the game, so that you can very quickly create useful techniques such as creating counters or changing maps.
These textures can then be changed with the touch of a button at runtime.
Preparing Texture Images

To define several textures for an object, you must first create all the textures and make sure that they end with an underscore and a leading number when naming them. E.g. myImage_1.jpg, myImage_2.jpp … and so on.
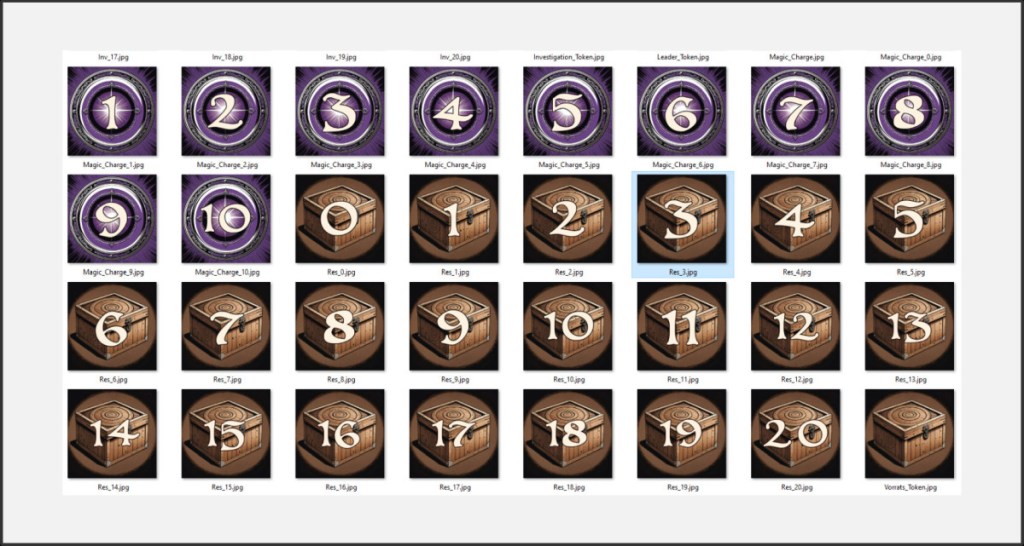
All texture images must be in the same folder. They should look like this in your Explorer.
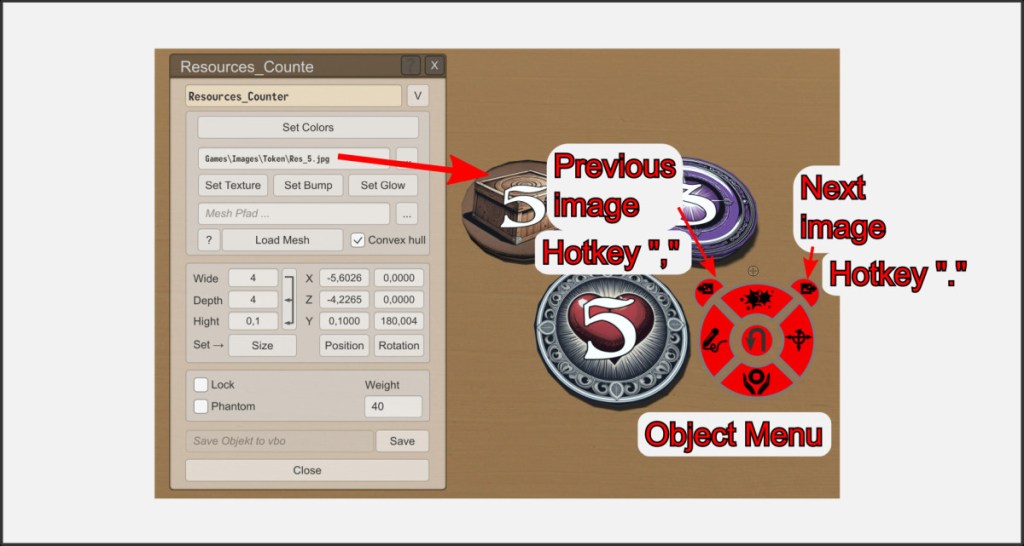
Assign one of these prepared textures to an object as usual via the editor menu. It doesn’t matter which one you choose internally. From this point on, you can now browse through the textures via the object ring menu. You can also use the . and , keys while hovering over the corresponding object with the mouse pointer.
Multi-Shape
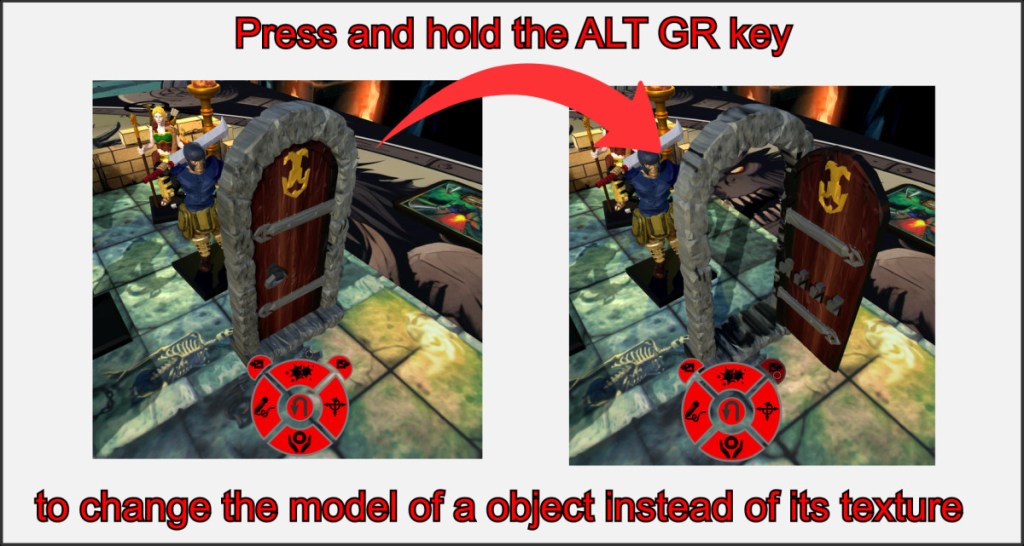
This technique also works with 3D models that are assigned to an object.
Name several 3D models like the textures before and assign one of these models to an object via the object editor. If you now hold down the AltGr key in the ring menu or when using the hotkeys to scroll through, the 3D models are changed instead of the textures.
Open doors and treasure chests, or visualize damage models for characters. Bring your board game adventure to life, or create essential game mechanics.
